
Do you have a cherished piece of wood furniture that’s lost its luster? Refinishing can breathe new life into it, saving you money compared to buying new and preserving sentimental value. This comprehensive guide will walk you through the process, from assessing your furniture’s needs to applying the final protective coat.
Introduction
Wood furniture refinishing is the art and science of restoring the beauty and protecting the longevity of your wooden pieces. Whether it’s a family heirloom, a vintage find, or a piece you simply love, refinishing can transform worn-out furniture into stunning statement pieces. Instead of discarding furniture due to scratches, faded finishes, or general wear and tear, refinishing offers a sustainable and cost-effective alternative. Plus, it allows you to customize the finish to perfectly match your style and décor.
Assessing Your Furniture’s Needs
Before you dive in, it’s crucial to assess the condition of your furniture. This involves several key steps:
- Identifying Wood Type: Knowing the type of wood (e.g., oak, pine, maple, cherry) is essential because different woods react differently to stains and finishes. Look for distinctive grain patterns and color variations.
- Evaluating Existing Finish: Determine the type of finish currently on the furniture (e.g., varnish, lacquer, paint, wax). This will dictate the appropriate stripping methods. Older finishes might contain lead, so take precautions!
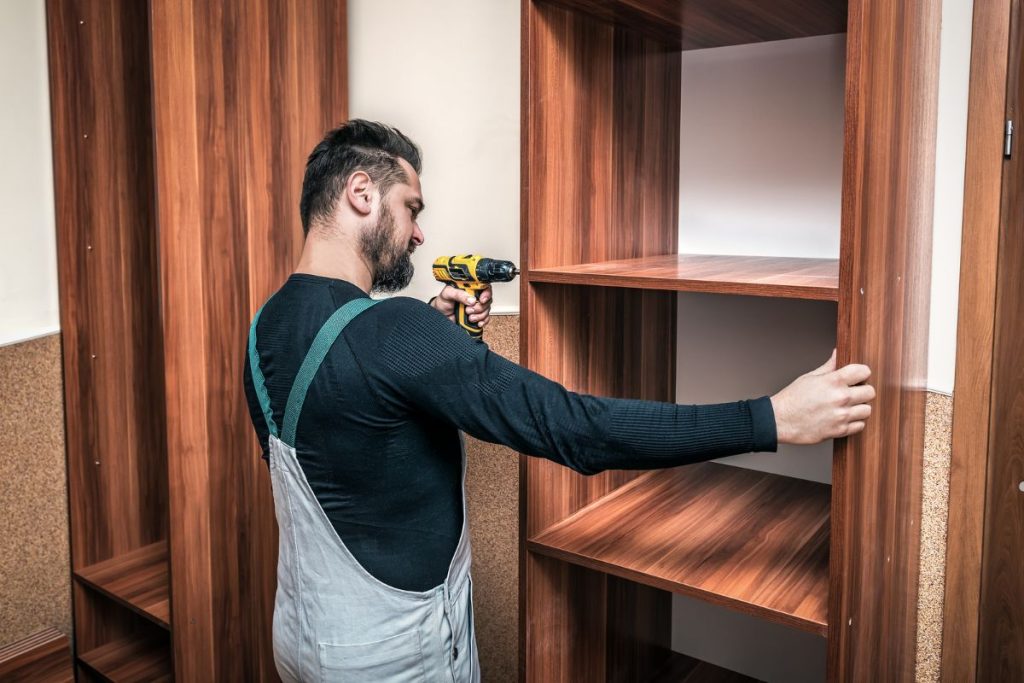
- Checking for Damage and Repairs Needed: Inspect the furniture for any structural damage, such as loose joints, cracks, or veneer damage. These issues need to be addressed before refinishing.
Explore Our Services for expert furniture repair, refinishing, and restoration solutions tailored to bring your pieces back to life!
Essential Tools and Materials
Refinishing requires a variety of tools and materials. Here’s a checklist:
- Safety Gear: Always wear safety glasses, all types of gloves, and a respirator, especially when working with stripping agents and solvents.
- Stripping Agents and Solvents: Choose the appropriate stripper for your existing finish. Options include chemical strippers, heat guns, and natural strippers.
- Sandpaper and Sanding Tools: You’ll need various grits of sandpaper (coarse, medium, fine) and sanding tools like a sanding block, orbital sander, or detail sander.
- Stains, Sealers, and Topcoats: Select a stain color that complements the wood and your décor. A sealer (e.g., shellac or sanding sealer) prepares the wood for the topcoat, and the topcoat (e.g., polyurethane, lacquer, varnish) provides protection and durability.
- Application Tools (Brushes, Rags): Invest in high-quality brushes for applying stain, sealer, and topcoat. Use lint-free rags for wiping away excess stain and applying certain finishes.
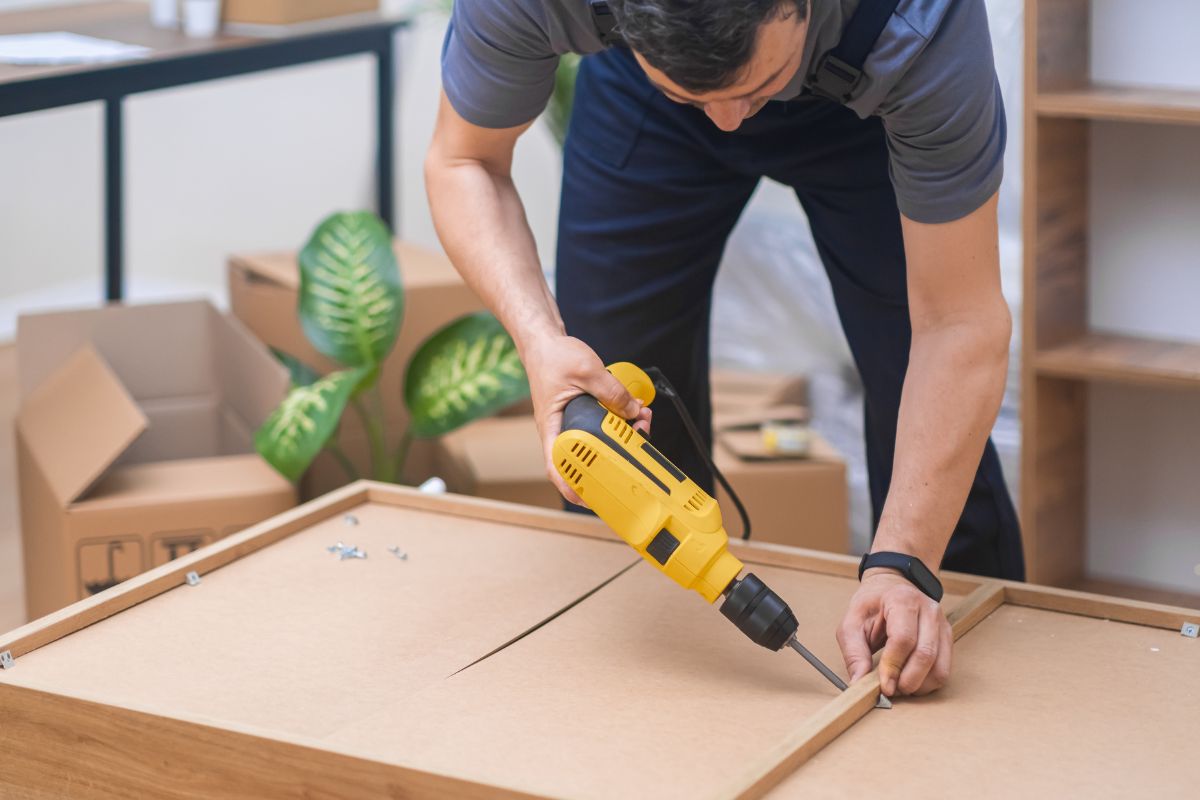
Is your furniture worn out or creaking? Let us restore its strength and beauty with expert repairs. From frame reinforcement to joint fixing, we handle it all. Call us now for a free consultation and give your furniture a new life!
Step-by-Step Refinishing Process
Follow these steps carefully to achieve a professional-looking finish:
- Preparing the Workspace: Cover your work area with drop cloths to protect it from spills and debris. Ensure adequate ventilation.
- Stripping the Old Finish: Apply the stripping agent according to the manufacturer’s instructions. Remove the softened finish with a scraper or putty knife. Repeat as necessary.
- Sanding the Wood: Start with a coarse grit sandpaper to remove any remaining finish and imperfections. Gradually move to finer grits to smooth the surface. Sand in the direction of the wood grain.
- Staining (Optional): Apply stain evenly with a brush or rag. Wipe away the excess stain after a few minutes. Allow the stain to dry completely.
- Applying Sealer and Topcoat: Apply a thin, even coat of sealer. Let it dry completely, then lightly sand with fine-grit sandpaper. Apply two or three coats of topcoat, allowing each coat to dry thoroughly before sanding and applying the next.
Troubleshooting Common Issues
Even with careful preparation, you might encounter some challenges:
- Uneven Stain Application: This can occur if the wood isn’t properly sanded or if the stain is applied unevenly. Try re-sanding the area and reapplying the stain.
- Bubbles or Streaks in Finish: These are often caused by applying the finish too thickly or using a dirty brush. Lightly sand the affected area and apply a thinner coat.
- Scratches and Dents: Fill deep scratches and dents with wood filler before sanding.
- Sticky or Tacky Finish: This can happen if the finish hasn’t dried properly or if the humidity is too high. Ensure proper ventilation and allow the finish more time to dry.
Discover expert Antique Repair services to restore and preserve the timeless beauty of your cherished furniture pieces!
Maintaining Your Refinished Furniture
Proper maintenance will keep your refinished furniture looking its best:
- Dust Regularly: Use a soft, dry cloth to dust the furniture regularly.
- Avoid Direct Sunlight: Prolonged exposure to sunlight can fade or damage the finish.
- Use Coasters and Placemats: Protect the surface from spills and heat.
- Clean Spills Immediately: Wipe up spills with a damp cloth. Avoid using harsh chemicals or abrasive cleaners.
Revive Your Treasures: A Complete Guide to Wood Furniture Refinishing! Bring back the beauty of your cherished furniture with expert refinishing. Call us now for professional restoration services and give your wood furniture a stunning new look!
When to Call a Professional
While refinishing can be a rewarding DIY project, there are situations where it’s best to call a professional:
- Valuable Antiques: Refinishing antiques requires specialized knowledge and techniques to preserve their value.
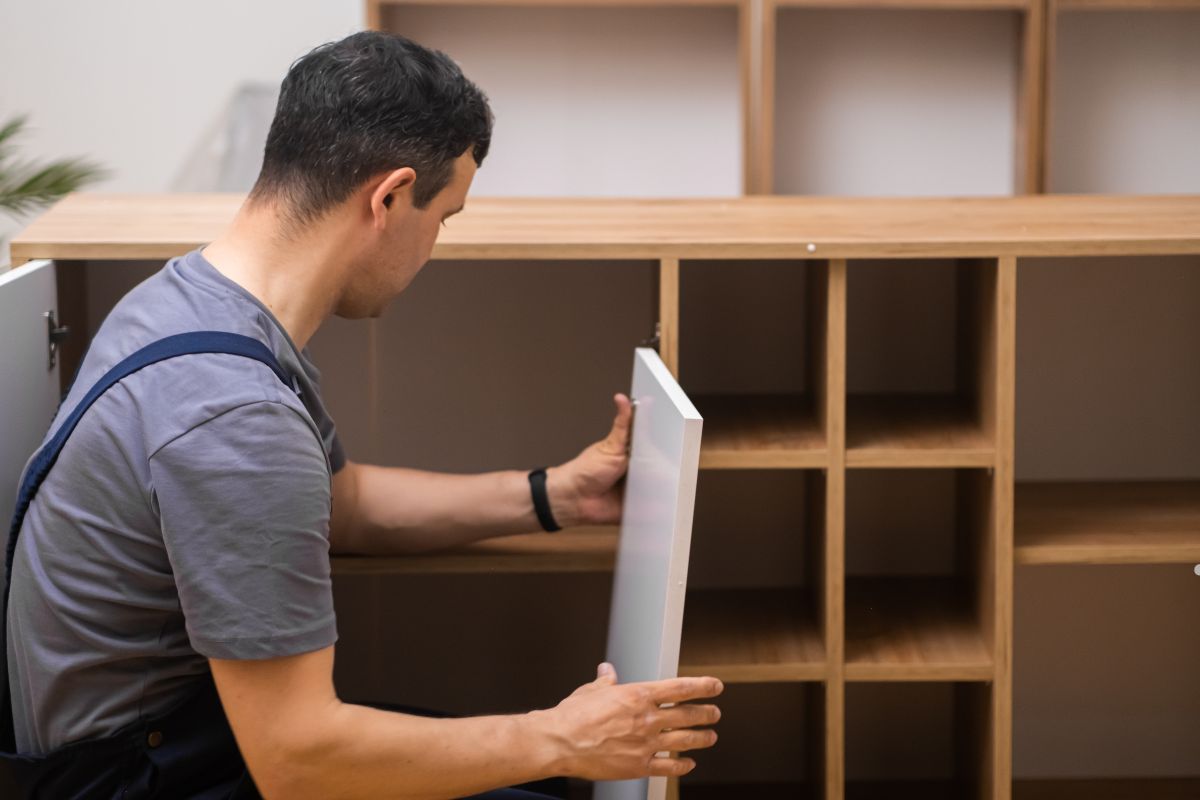
- Complex Repairs: If your furniture has significant damage, such as broken legs or extensive veneer damage, professional repair is recommended.
- Lack of Time or Expertise: Refinishing can be time-consuming and requires attention to detail. If you don’t have the time or confidence to do it yourself, a professional can ensure a high-quality result.
Frequently Asked Questions
How long does it take to refinish a piece of furniture?
The time varies depending on the size and complexity of the project, but it typically takes several days to a week.
What is the best type of finish for my furniture?
The best finish depends on the type of wood, the intended use of the furniture, and your desired aesthetic.
Can I refinish veneer furniture?
Yes, but it requires extra care because the veneer is thin and easily damaged.
How do I remove paint from wood furniture?
You can use a chemical stripper or a heat gun to remove paint.
Conclusion
Wood furniture refinishing is a fantastic way to breathe new life into your treasured pieces, save money, and personalize your home décor. By following these steps and taking your time, you can achieve beautiful, professional-looking results. Don’t be afraid to experiment and have fun with the process!
Don’t let your favorite furniture wear out! Restore its strength and comfort with our expert repair services. From frame reinforcement to joint tightening, we do it all. Contact us today for a free consultation and give your furniture a new life!